

Team Destiny 07
-
Content Count
94 -
Joined
-
Last visited
Posts posted by Team Destiny 07
-
-
Not really they are average
-
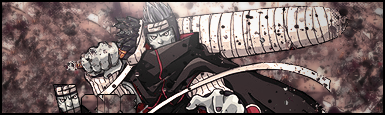

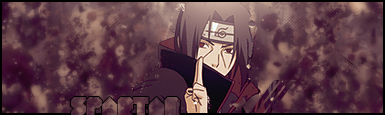
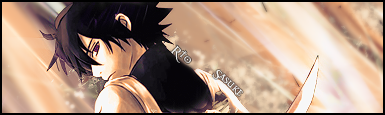
Made these for ppl:
-
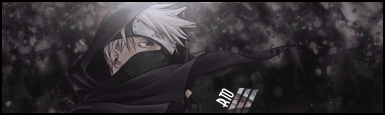
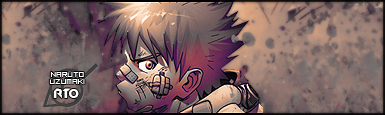
First Abstract:
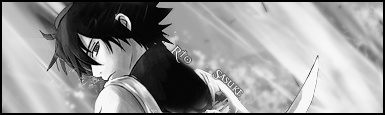
Others:
-
Umm this is off topic but umm......shwaggy don't talk about spamming to get poost count b/c u have 6 posts.........anyways Good Tut but i think the Inverse Shortcut is Shift+Control+I.
-
Basiccaly you just erased the white area and lowered the opacity on the top layer, but in a different way.~ZS TD07
-
I would agree that it is 85% metal 5% Rap and 10% Rock.
-
Well it's ok but its to far spread out in width and if you want a good free graphics program I would Highly suggest either Paint.Net ot THE GIMP. As far as I know The GIMP doesn't work on Vista's or if it does maybe just not on my Vista.
-
Ok well I have just finished registering at 789mb.com,and im a little dissapointed due to the fact that I haven't even gotten my e-mail.
-
-
-
K well added some more psds to it dl if you want.
-
K well here is my psd pack:
If you don't wanna click my image:
LR No Ripping
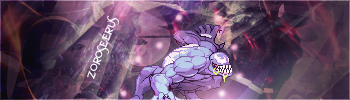
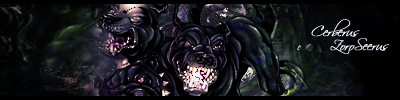
Team Destiny07 a.k.a. ZoroSeerus
-
What are the benefits?
-
Actually a psd is a Graphics program only file. It has nothing to do with people only. Everything you make should be saved as psd and a png. On many gfx sites you can trade psds for points/currency or other psds. Png can be transparent as well and gif too.
-
K comments?
-
I use PhotoShop CS2 and like vhortex said Imageready is usefull as well.
-
Ok let's begin:
1.) Open up a new doc ( I used 400x100).
2.) Add in your stock(picture in a scene or w/ background).
3.) Make a new layer and apply image/stamp visible(alt+cntrl+shift+e) and smudge it. Set this to darken 30%.
4.) New layer apply image filter>liquify and mess around. Set it to 30%.
5.) Once again apply and smudge it but only over the focal(your render/person usually) Set it to soft light 50%.
6.) Now apply the image and do an adjustment layer(photo filter deep red 100 density) at 20% soft light.
7.) Now add some c4ds ( I used a lot) set them to darken and erase around the focal somewhat.
8.) Add some c4ds at color dodge 70%.
9.) Now c4ds lighten 90%.
10.) Now take a soft brush and brush around the sides black. Set this to soft light 20%.
11.) Now a white soft bursh near the focal(don't hold the brush just tap it once or twice) Set this to color dodge.
12.) Add a photofilter at lighten 50%.
13a.) Add a border and text and your done!
13b.) To add a border make a new layer select all(control+a) and do edit>stroke 1px white. Set it to soft light.
No Ripping.
Here is a link to a psd that I used for this outcome:
Click Here and Scroll Down to ZeroBackSig.png -
-
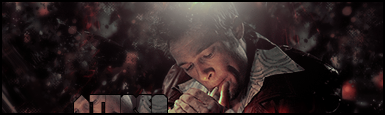
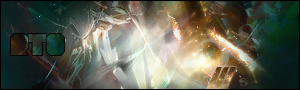
Not my best but o well:
Large:
Medium:

Favicon/Small:

-
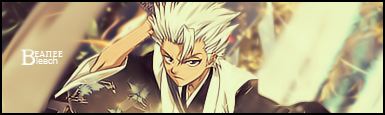
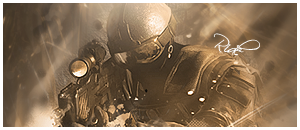
K here it is:
-
Ok tommorow I will try to make one. I'll maybe put some kind of php logo?(Ill put a trademark sign too though). Looks like we'll see.
-
Copy merged (cntrl+a and shift+cntrol+c) and paste and resize and crop or copy and new. BTW use .pg for all sigs =)
-
Ya i'm tryin to get a mic so I can use voice with it.
-
Do you have any pictures that oyu might want us to use? I really need something to work from. O and are these sizes ok:Large:800x100Medium:400x50Favicon/Small:16x16
Some Sigs
in Graphics, Design & Animation
Posted · Report reply
PSD is an adobe photoshop file usually with the layers of the signature/image